How to Do A House Clearance: DIY House Clearance Guide

Clearing a house may seem like a mammoth task — but it doesn’t have to be. With a little planning, forethought and determination, your household clearance can be a swift and painless process.
And while it may be easy to turn to a professional house clearance company to do all the work for you, there’s really no need. You’ll save far more money taking on the task yourself, plus you’ll earn the satisfying feeling of personal achievement that no professional can give you.
So make yourself some snacks, put on your favourite playlist and study the tips for house clearing in this article. You’ll learn how to clear a house and the best ways to get rid of your items.
Preparing for a house clearance

It’s easy to become overwhelmed by your DIY clearance task, which is why it is crucial to make a plan before you start. Work out the volume of items you wish to keep, the volume of items you wish to donate and the volume of items you wish to throw away. Determine how you are going to store your items to keep or donate, and where you will dispose of the rest.
- If you don’t need to remove the items that you are keeping — great! You can simply leave them in the house. However, if your clearance is a result of moving house, and you need to take your items with you, you’ll need suitable packing supplies. Sturdy packing boxes, plastic storage containers and even suitcases are all great options.
- For items you wish to donate, make sure you have a suitable number of plastic bags available.
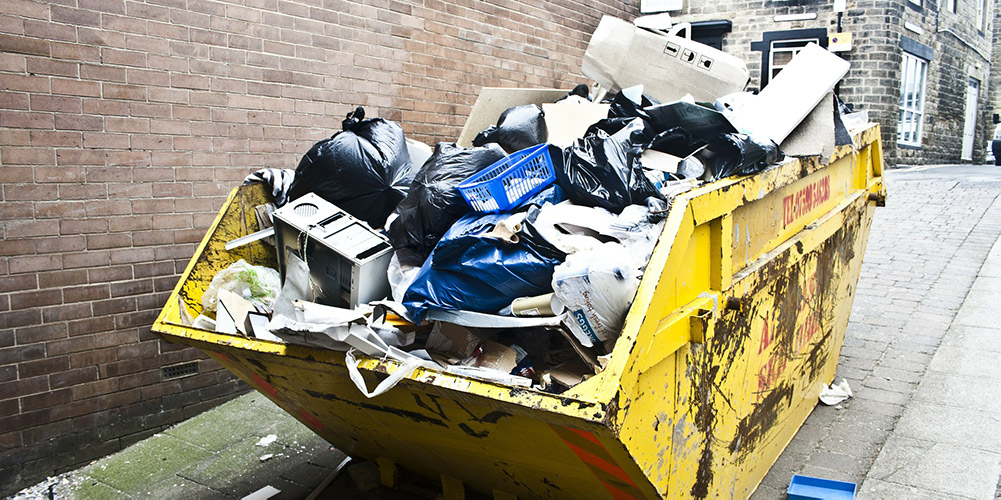
- Hire a skip for your disposable items. Visualise the amount of waste you might need to throw away and hire a skip of the corresponding size. Professional skip hire companies like SCS Waste offer a range of skip sizes, so you’ll never overpay for space you won’t use. We take a dive into skips (figuratively, not literally) later on in this article.
Go room by room

Select a room to begin with. Going room by room will help break down the seemingly huge clearance task into smaller, more manageable mini-clearances. You can take breaks between rooms to recharge your batteries, plus, once one room is clear, you can use it as the place to store your newly packed suitcases, packing supplies or plastic bags. This will give you more space to clear subsequent rooms.
Go around the room organising each item into three categories: keep, donate or throw away. Donations may include giving your items to friends or family, so try to keep charity bags and friend/family bags separate so you don’t get them mixed up.
What can I give to charity?

You can usually find willing charity shops for any item that is in resellable condition, but the most common types of items are:
- Books
- Clothes
- Furniture
- Ornaments
- Cutlery
- Art
What can I put in a skip?

When organising your items for disposal, make sure you don’t place any prohibited items in your skips. Most household waste will be fine, but make sure you check the prohibited items list before you go ahead with your project. Placing prohibited items in your skip could land you with a hefty fine.
Prohibited skip items include:
- Asbestos
- Plasterboard
- Batteries
- Electrical Waste
- Fuels
- Tins of Paint
- Fluorescent Tubes
- Gas Cylinders
- Medical Waste
- Tyres
- Mattresses
You must find alternative ways to dispose of these items. Your local council should offer collection services for many of these items or provide links to specialised disposal companies that can help.
Safely disposing of paperwork

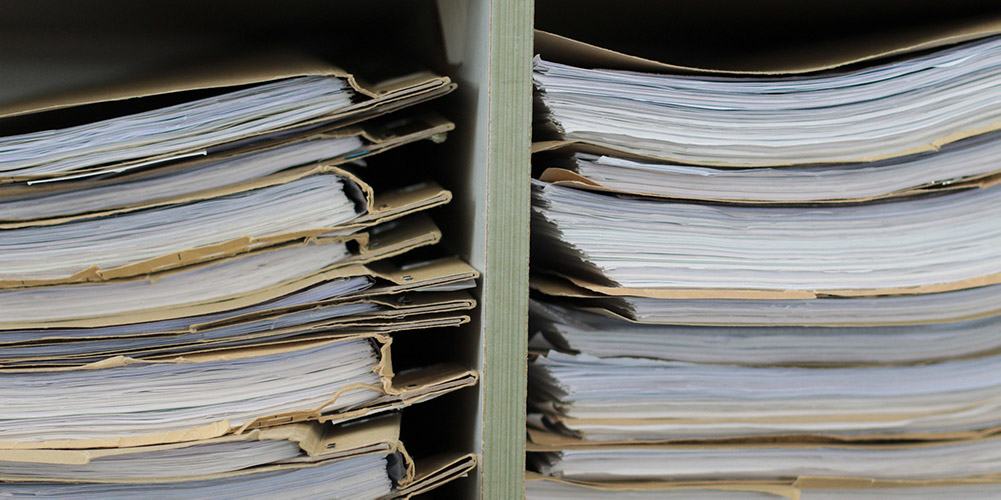
During your clearout, you may come across confidential papers that you wish to dispose of. It’s not enough to simply throw confidential paperwork away, as this could lead to identity theft. Instead, use a shredder to destroy your documents. These may include:
- Old bank statements
- Health records
- Personal letters
- Payslips
How to load a skip efficiently

Once you’ve sorted your items and you have your disposable waste ready to get rid of, it’s time to fill the skip. Filling a skip efficiently is important if you want to keep costs down. If you just throw everything in haphazardly, you may find that not everything fits. If you overfill a skip you could be fined or forced to hire a second skip. Both of these outcomes can be avoided simply by filling your skip in the following way:
Think of it like a game of Tetris: you want to manoeuvre each item so that it fills all the available space.
- To start, separate your waste into the following four categories: Flat items such as cardboard and paper; tessellating objects, such as tiles and bricks; bulky items, such as chairs and tables; and debris, such as soil and sand.
- Before filling your skip, crush your flat items to make them as flat as possible. Then, dismantle your bulky items in their core parts. For example, remove the legs from tables where possible so that you are left with the table legs separate from the tabletop.
- Now it’s time to fill the skip. The key is to fill it in layers, starting with your flat items. Cover the bottom layer of the skip with your flat items, making sure to cover all space in one layer before starting a second layer.
- Once you’ve used all your flat items, move onto the tessellate items, again filling layer by layer.
- Add the bulky items next. It may be more challenging to fill all available space with these items, so just do your best. Try to fill all available space in a layer before moving on to the next.
- Don’t worry if you couldn’t fill all available space with your bulky items. The debris is perfect for filling remaining pockets of space.
- Once you’ve loaded your skip, it will be swiftly removed by the skip hire company.
To avoid any issues, make sure you choose the right skip size for your project. At SCS Waste, we have skips in a range of sizes. From 2-yard mini skips to extra large 12-yard Monsta skips, we have everything you need to ensure an efficient house clearance without the fuss. We even organise all skip permits on your behalf.
To find out more about our skip services, contact the team at SCS Waste today.

